
A character kit is everything a character needs after it's designed: every angle, a face for every mood, poses for marketing, parts for animation and a looping idle for the lobby. You can build it from one approved front view by chaining five prompts in order: turnaround, expressions, poses, rig breakdown, idle animation. Each step uses the output of the one before it, which is what keeps the character on-model from start to finish.
Key takeaways
- Order matters. Lock the angles first, then faces and poses, then animation.
- Every step reuses the previous step's output as its reference. That's the consistency mechanism.
- Feed your best results back to the character so each step gets better than the last.
- Test models at the turnaround stage. That's where they differ most.
- In Genie, all five prompts run on your saved character with @, so the kit stays on-model across the team.
What do you need before you start?
- One approved front view of the character on a plain background, arms slightly away from the body.
- The character set up in Genie, so you can call it with @.
- A list of who needs what: the 3D or animation team, UI and narrative, marketing and community.
How do you build the kit, step by step?
Step 1: Lock every angle with a turnaround
Run Asset turnaround on the front view to get a 3x3 sheet: nine angles in one image. Check the back view and any asymmetric details (a sword on one hip, a logo on one sleeve) before moving on. Every later step leans on these angles.
Why first: if the back of the character is wrong here, it's wrong in every pose and every frame of animation after.
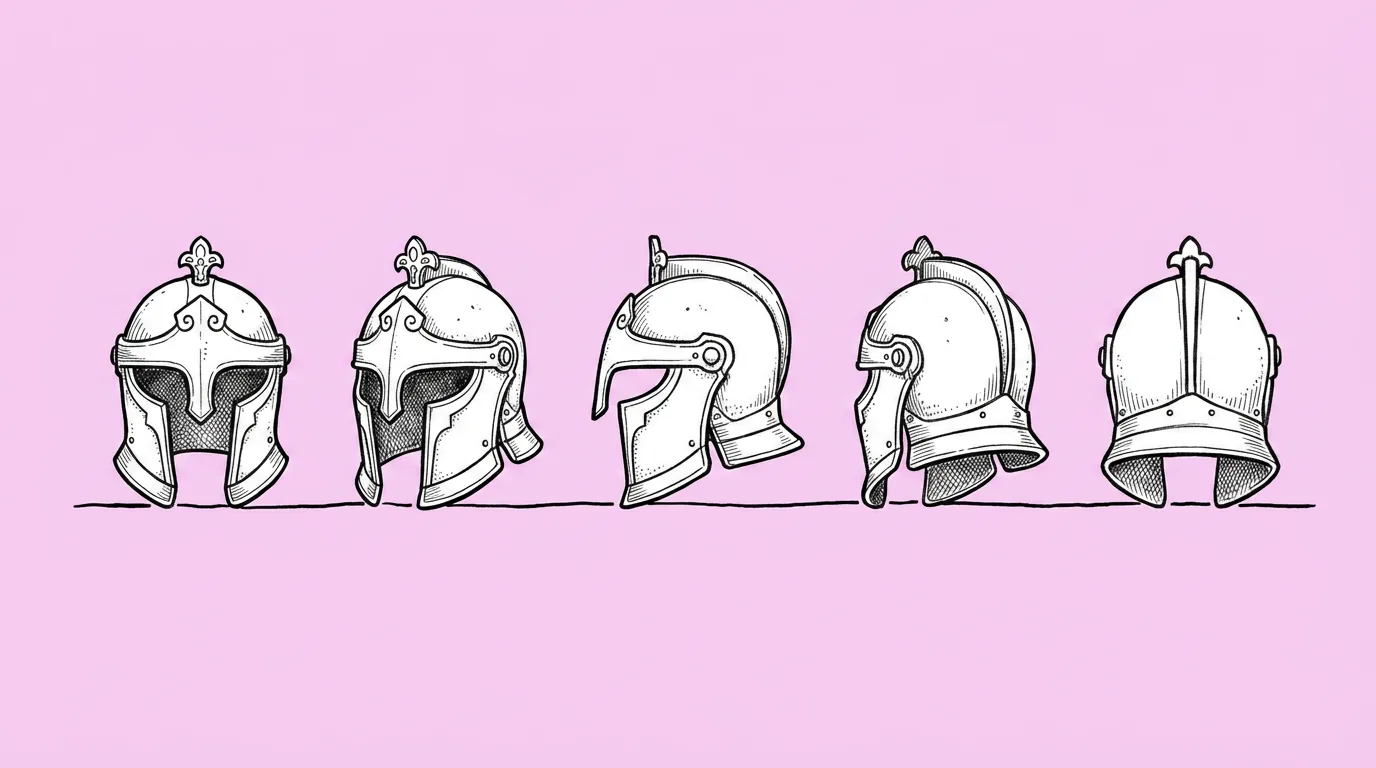 PromptAsset turnaround →
Step 2: Give the character a face for every mood
Run Character expressions with the front view attached. Name the exact emotions your UI and story need, not "happy, sad, angry". Ask for the same framing in every cell so the portraits line up in dialogue screens.
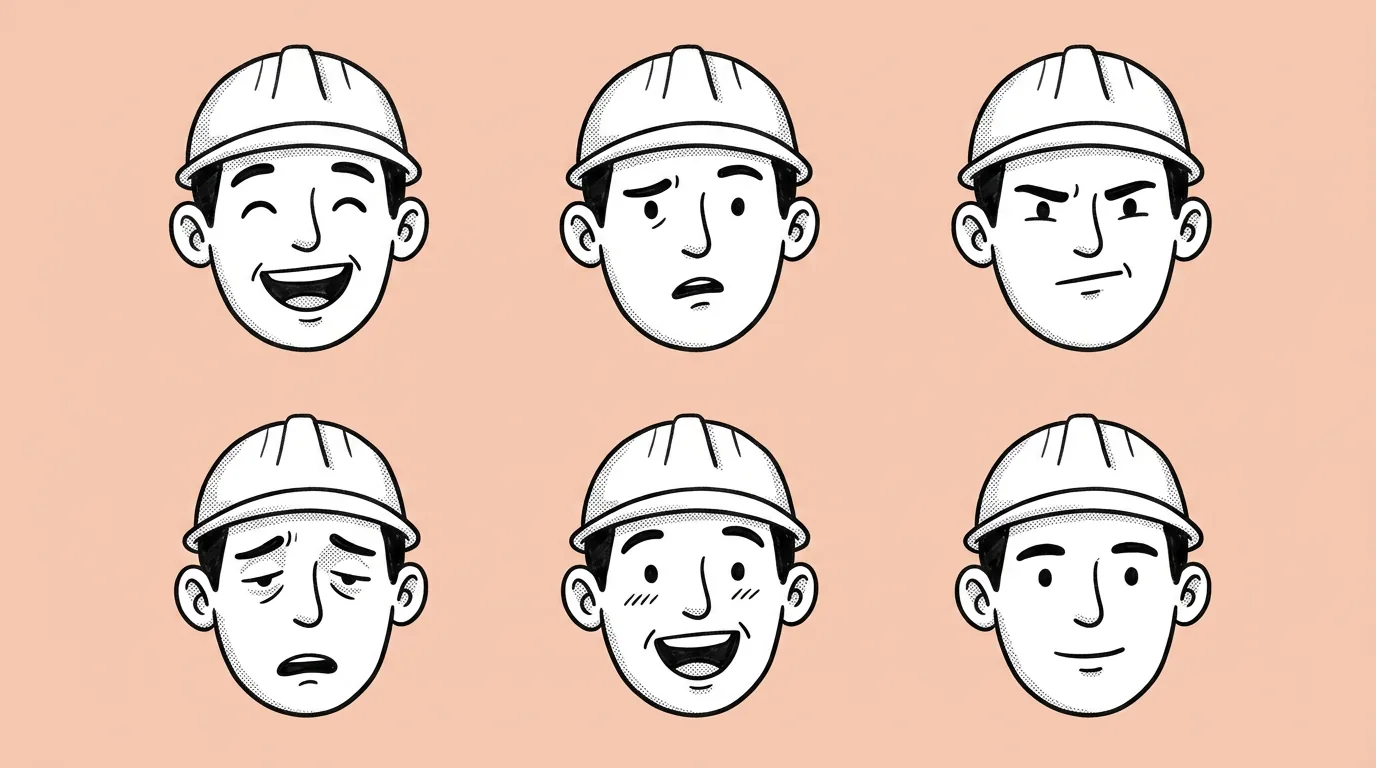 PromptCharacter expressions →
Step 3: Build a pose set
Run Character poses set with the turnaround attached. List the poses marketing and community actually need: waving, celebrating, pointing at an offer. Keep batches to four to six. Then add the best results back to the character in Genie. This is the step that makes every future generation of the character more consistent.
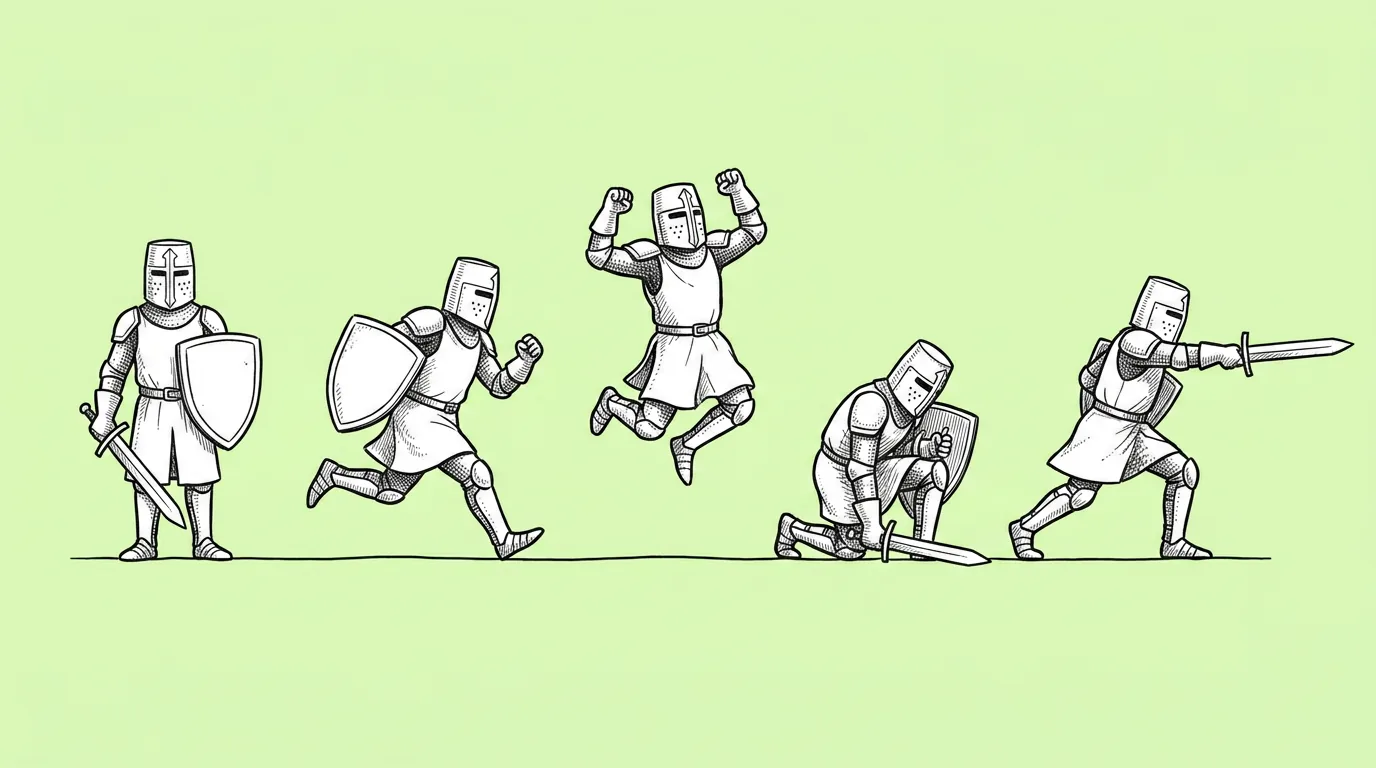 PromptCharacter poses set →
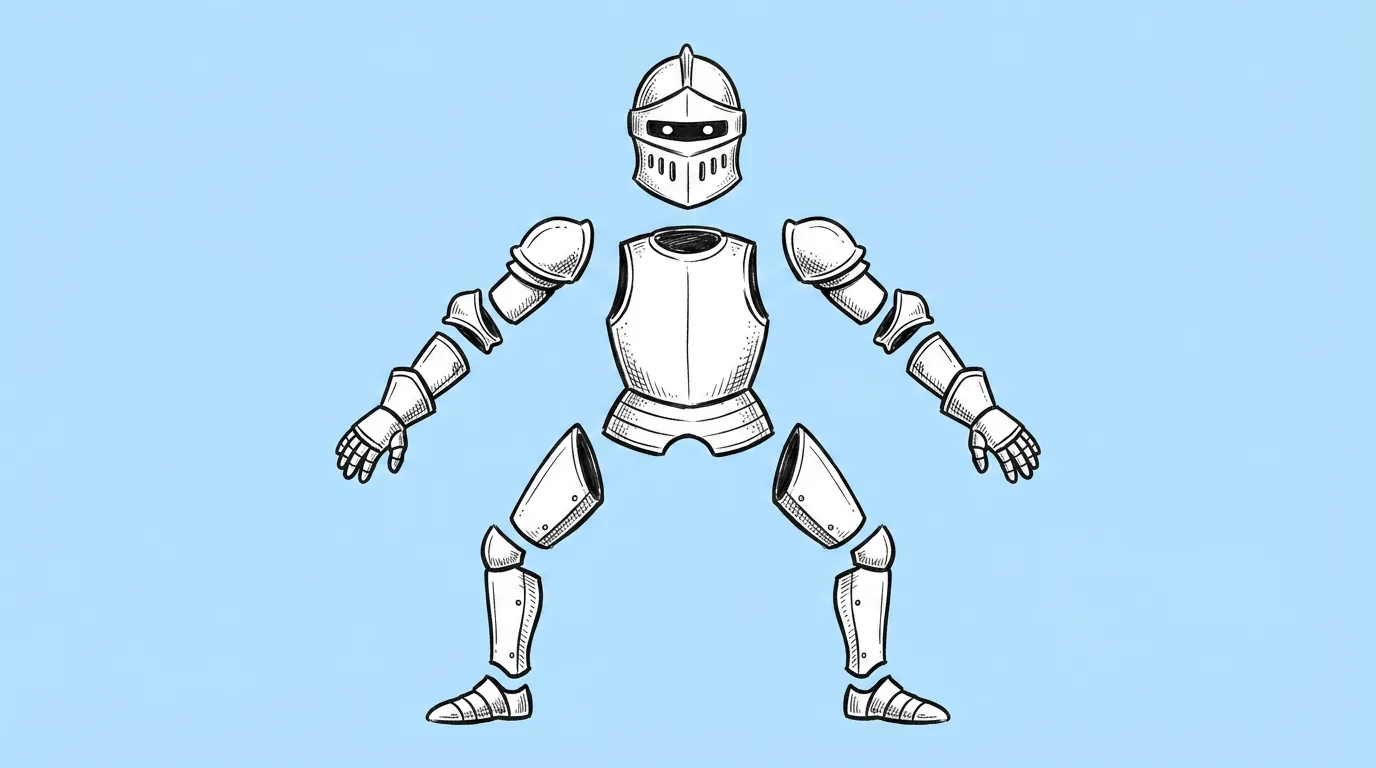
Step 4: Split the character into rig parts
For 2D skeletal animation, run Character rig breakdown from a clean T-pose or A-pose. If you don't have one, generate it in step 3 first. List every part, including capes and hair that move on their own, and ask for overlap at the joints.
 PromptCharacter rig breakdown →
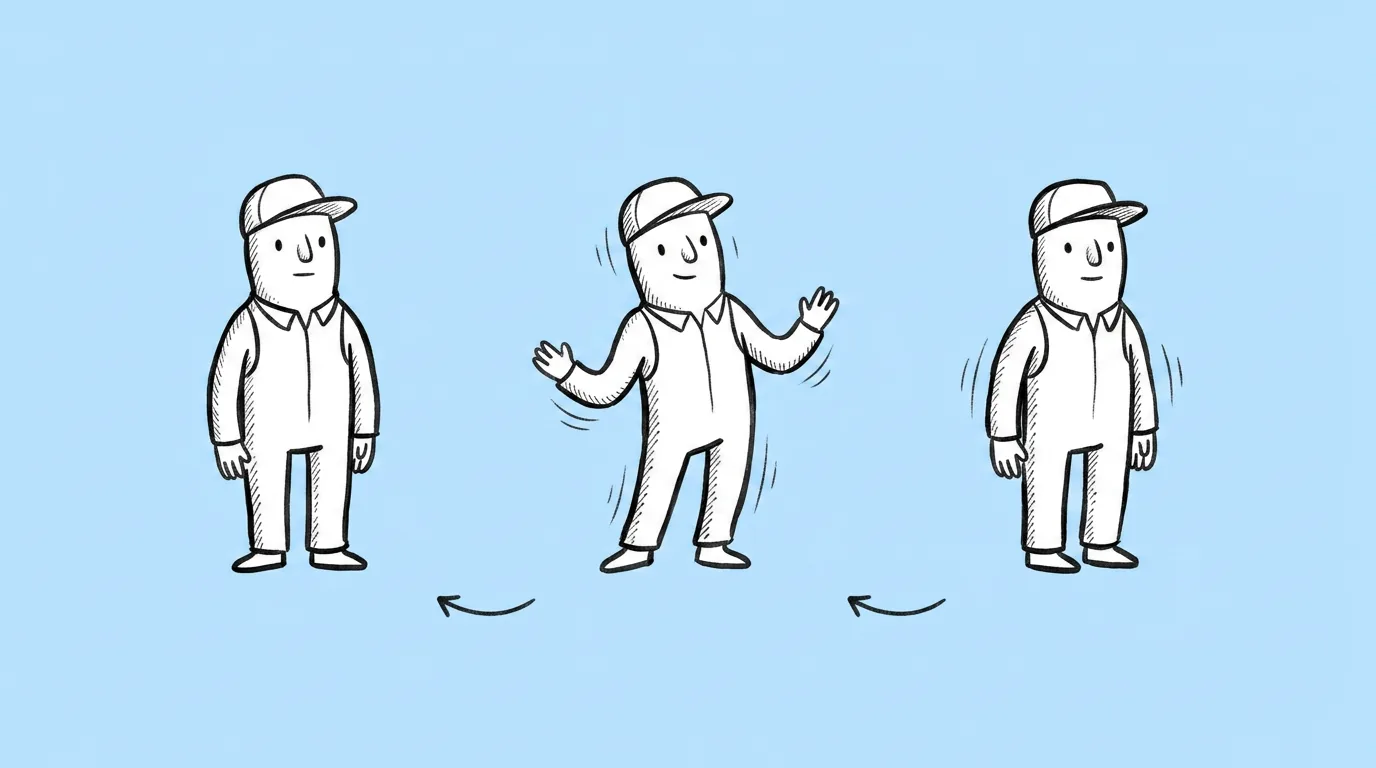
Step 5: Bring it to life with an idle loop
For lobbies, character select and store pages, run Character idle animation on a clean pose. Small motions only: breathing, a blink, hair. Three to five seconds loops cleanly.
 PromptCharacter idle animation →
Prompts in this guide
The kit at a glance
| Step | Prompt | Input | Output | Who uses it |
|---|---|---|---|---|
| 1 | Asset turnaround | Front view | Nine-angle sheet | 3D, animation, outsourcing |
| 2 | Character expressions | Front view | Nine-emotion sheet | UI, narrative, community |
| 3 | Character poses set | Turnaround | Four to six poses | Marketing, social, dataset |
| 4 | Character rig breakdown | T-pose or A-pose | Parts sheet | 2D animation |
| 5 | Character idle animation | Clean pose | Looping idle video | Lobby, store, social |
What goes wrong across the chain?
Drift compounds. A small change in step 1, like a belt buckle on the wrong side, shows up in every step after it. Three habits stop it:
- Approve each step before the next. Don't chain from an output you haven't checked.
- Always attach the latest approved output, not the original concept.
- Test models early. Run step 1 on two or three models with Compare image models, and use the winner for the rest of the kit.
The honest read: this kit doesn't replace the animator or the 3D artist. It removes the waiting and the guessing in front of them, so their first pass starts from complete references.
Where does Genie fit?
Each prompt works on its own. The kit works because Genie keeps the character as one thing across all five steps: you call it with @, you add approved results back to it, and you save the steps as a skill so the next character on the team gets built the same way. The artist owns the character. Genie owns the repetition.
FAQ
Do I have to run all five steps?
+
No. Steps 1 to 3 cover most UI and marketing needs. Steps 4 and 5 are for characters headed into animation.
Can I start from a sketch instead of a finished front view?
+
Yes. Run Sketch to render first, approve the result, and use it as the front view.
How do I reuse this for the next character?
+
Save the five steps and your notes as a skill. The next character goes through the same chain with the same rules.
Does this work for creatures and mascots?
+
Yes. For non-human bodies, describe how poses and rig parts map to the body, for example four legs, wings and a tail.